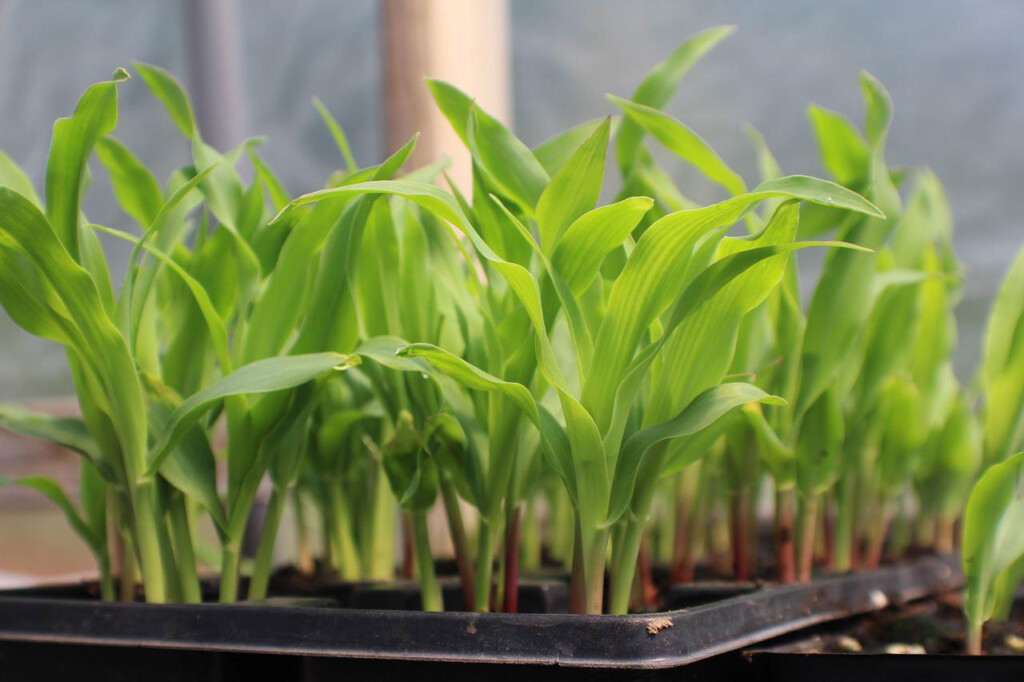
Growing your own seeds is fun, easy, and satisfying. It’s a great, inexpensive way to grow an array of interesting and unusual vegetable and flower seeds—a much bigger and more exciting variety than you’ll ever find in starter plants. You can get an earlier start—and therefore, an earlier harvest of vegetables or earlier color in your garden—when you start seeds indoors. And what better way to beat the “Winter Blues” than by having pots of veggies, herbs, or flowers growing on your windowsills?
When to Start Your Seeds in the Mid-Atlantic
Here in the Mid-Atlantic, including Virginia, West Virginia, Maryland, and DC, seeding should start 6-8 weeks before our last frost date—usually late February through mid-March for most of our region.
Materials You Need
To start seeds, there is a vast array of seed-starting supplies from which to choose. Peat pellets, compressed peat that expands when soaked in water, make excellent little ‘pots’ just right for planting two or three seeds. The mesh covering on the outside of the pellet allows new roots to show, alerting you when it’s time to move the seedling to a larger container. There are also plastic trays that come with removable cells in which to start seeds. Some even come with greenhouse lids available. If you use trays, be sure to use a sterile seed starting soil to start. Seed starting soil mixes are finely textured and moisture retentive, ideal for tiny fragile seed roots.
Peat pots, made of pressed peat fibers, are great to have on hand when it’s time to transplant seedlings. Most pots range in size from two and a half inches to around four, allowing you the flexibility to move seedlings up as needed. And because the pressed peat in bio-degradable, you don’t have to remove the seedlings from the pot when it’s time to move outside. Just plant pot and all.
Seed Starting Process: Step-by-Step
This section outlines the basics of seed starting and may not include all necessary information needed for specific seeds. We recommend that you check your seed packets for more information.
- Wet your soil and spoon it into your seed-starting containers.
- Read the seed pack instructions and determine the plant depth.
- Insert seeds gently into the soil. Add a layer of potting soil to cover the seeds.
- Use a mister to water in the new seeds. Be sure the soil always stays moist.
- Place the container on a layer of newspaper in a very sunny window.*
- Cover the pot with a clear plastic top or plastic wrap until the seeds sprout.
- Check the seedlings daily and mist as needed.
- After about eight weeks, harden them off by putting them outside for a few hours each day on a sunny porch and increasing their exposure time a bit every day.
- After about two weeks of hardening, transplant your “babies” outside.
Please note: Some plants germinate in the dark. Check your seed packet for detailed instructions.
Light Levels
Most seedlings need ample sunlight or grow lights positioned 4-18 inches above them for 16-18 hours daily. Check your seed packets for specific light needs.
Direct-Sow Options
Some vegetables like beans, peas, cucumbers, and root crops are best sown directly into your garden after the last frost. Always refer to the seed packet for proper planting instructions.
Let’s Get Growing
At Meadows Farms, we have everything you need to start your seeds—quality supplies and expert advice. Visit any of our 15+ locations across the Mid-Atlantic today to stock up and get personalized tips for your best garden yet!

